Ch 2: Factory Fright – Flooded
Back to Yooka-Laylee and the Impossible Lair
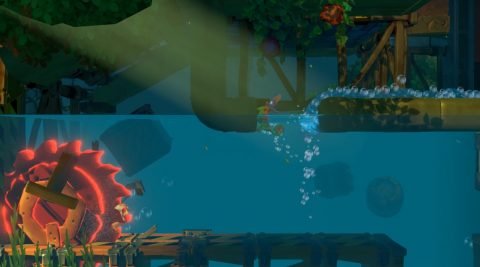
From the start drop into the water and swim to the right. Swim up and go through the green door. This takes you to a flooded room with Coin #1.
Go back through the green door and continue swimming to the right. Make your way past the sawblades and follow the underwater tunnel down to Checkmate 1.
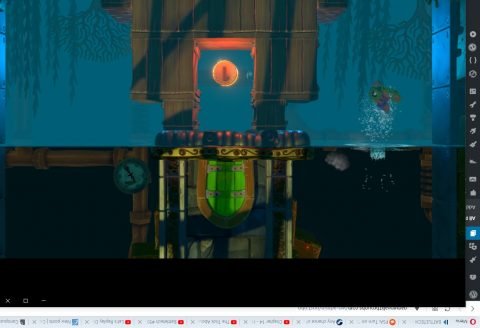
Continue following the tunnel down through a trapdoor and past the Laylee bell. Head to the right and when you see a small sawblade circling around a larger one go through the hidden passage to the top right.
Swim down and break the box with Coin #2.
Head through the door to the left and swim past the sawblades. Continue through the airlock to Checkmate 2.
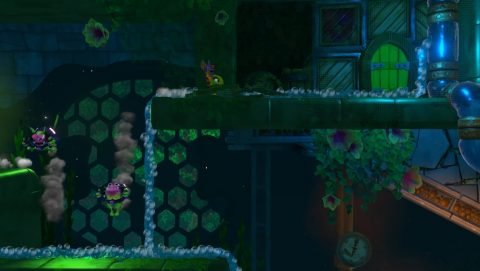
Make your way up the nets and platforms and then through the half flooded tunnel to the left. Follow the waterfall to the pool of water and drop in. Quickly jump back out as the large sawblade rolls past. You can now safely follow along behind.
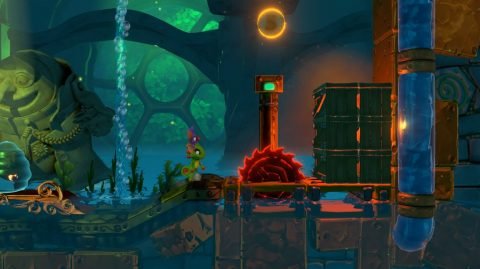
Follow the sawblade down the underwater ramps to Checkmate 3. Swim up past the Octopuses for Coin #3.
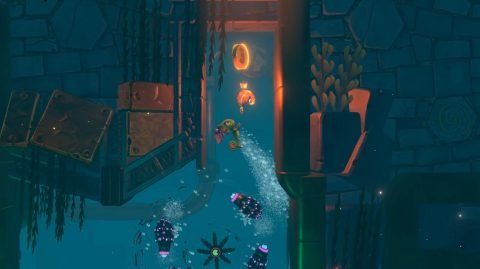
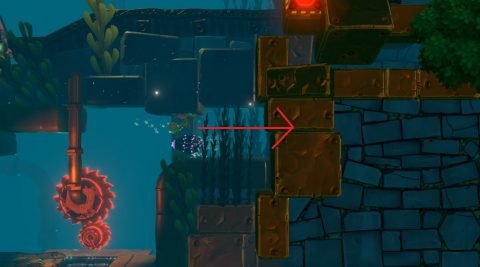
Swim back down and continue to the right past the next set of sawblades. Go through the airlock and either bounce off the jetpack creatures or do a slam jump to the secret door behind the leaves.
Go inside and touch the Blue Quill. Catch all the Quills before the time runs out for Coin #4.

Go back through the green door and follow the ramp down while avoiding the sawblades. Drop down the trapdoor at the bottom and then through the next trapdoor to the water below. You’ll come up at Checkmate 4.
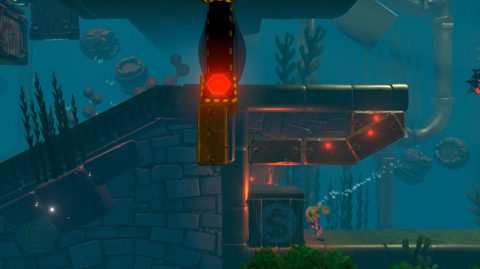
Drop into the water again and swim past the robotic blowfish. Go through the door at the bottom and smash through the boxes to the next area. Swim down through tne next door to Checkmate 5.
Make your way through the tunnel and up past the sawblades to the next airlock. Head to the right for the level exit but jump over the Beettalion. Break a couple of boxes on the right and use the remainder to jump up to Coin #5.
When you’re done break the egg for a Beettalion named Dambeeien.
Next: Ch 3: Wild Web Woods
Back: Ch 2: Factory Fright