
Ch 17: Boom-Bloom Blast
Back to Yooka Laylee and the Impossible Lair
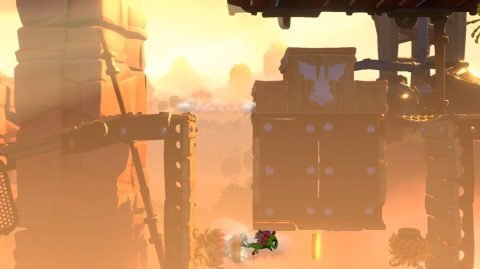
This level makes use of the cannon mechanic. From the Start make your way to the right, jumping in the cannons when you need to. Just before the box with the Laylee Bell smash down through the trapdoor for Coin #1.
Use the cannons to make your way across to Checkmate 1 and continue across the cannons as you avoid the Spiders. On the next ledge you’ll find a Laylee Bell and Red Quill.
Make your way to the right by using the blue and yellow cannons. When you get to the final blue cannon before Checkmate 2 shoot yourself below the platform for Coin #2.
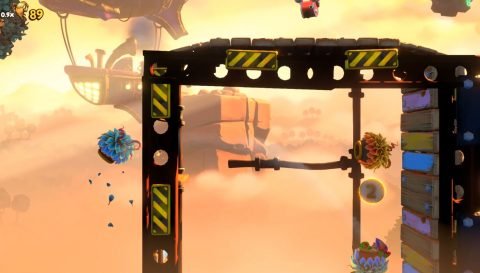
Use the cannons to get up above the platform for Checkmate 2 and continue to the right. When you reach the seesaw platforms stand on the edge of the second one so the right side is pointing up. Quickly roll along it to break the box with Coin #3.

Make your way across the platforms to the right and roll through the gap before Checkmate 3 for Coin #4.
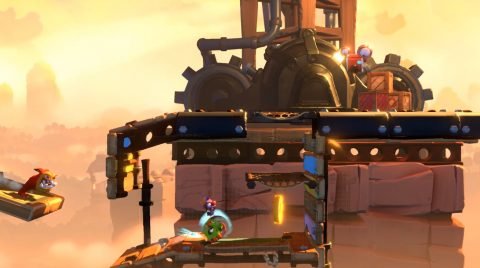
The next section is quite difficult. You’ll need to use the enemies and cannons to bounce and shoot your way across the large gap. When you see the hovering enemy with a Quill underneath him bounce on him and grab the Quill. It will turn into a cannon which will shoot you over to Coin #5.

Continue using the cannons to make your way across to the next stable ledge. Drop down for the Beettalion and break it to rescue Danbeeil.
Next: Chapter 17: Boom-Bloom Blast – Breakthrough
Back: Chapter 16: Queasy Quay – Climb
