Ch 1: Capital Causeway – Chaos
Back to Yooka-Laylee and the Impossible Lair
From the start jump over the wall to the left and avoid the missile to reach Coin #1.
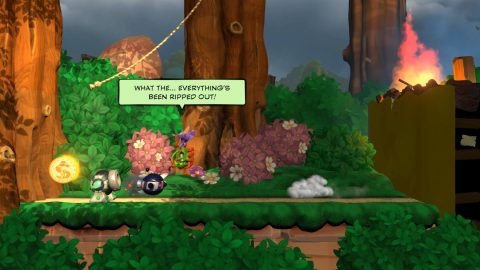
Use the rope to swing back over the wall and make your way to the right. Slam down through the trapdoor and swim through the water. Follow the arrows in Quills to Checkmate 1.
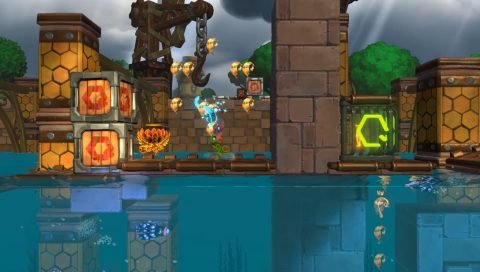
Don’t dive into the water here. Jump over to the other platform and use the invisible cannon just near the two crates. You’ll be shot over to the Blue Quill. Grab all the Quills for a Mine.
Use the cannon to get on the crates and do a buddy slam with a spin and jump over the stone wall to the cage with Coin #2. If you can’t make the jump just swim around to it.
On the other side of the stone wall you’ll find Checkmate 2. Continue to the right until you see a Helicopter Enemy over a trapdoor. Slam down on the trapdoor for Coin #3.
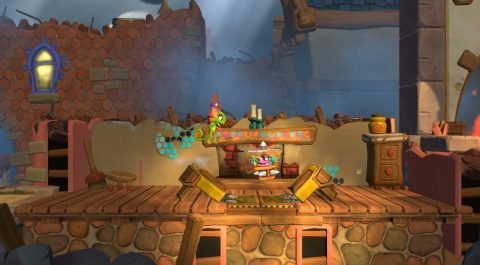
Continue across to the right for Checkmate 3. Smash the boxes and drop down to a cave area. Make your way past the rollers to Checkmate 4.
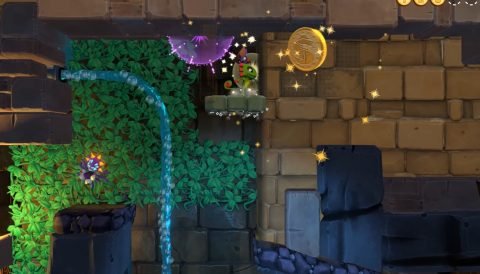
Drop down into the water and climb up the vine. To the top right you’ll find a secret area with Coin #4.
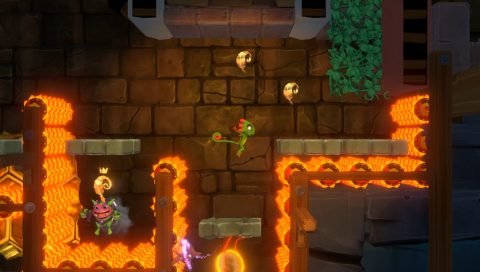
The last coin is quite difficult to get. Make your way past the molten rollers to a breakable platform with a coin underneath. Make sure you jump before the ledge breaks or you won’t bounce off the Red Quill underneath. Grab Coin #5 and bounce off the Red Quills back out of the hole.
Climb up the vines to Checkmate 5. Make your way up the platforms and swing across the rope to the Beettalion. Break it to rescue Cam Beegle.
Next: Chapter 2: Factory Fright
Back: Chapter 1: Capital Causeway