Ch 11: Conveyor Chaos
Back to Yooka-Laylee and the Impossible lair
Grab the fruit to the left if you want and then smash down the trapdoor just before the conveyor for some extra quills.
Make your way across to the right to the Laylee Bell. Just to the right is a windmill with two conveyors attached. Grab the Blue Quill and then all the Quills that appear before the time runs out. If you grab them all Coin #1 will appear in the center.
Continue to the right to Checkmate 1. Ride up the conveyors and then continue to the left to Checkmate 2.
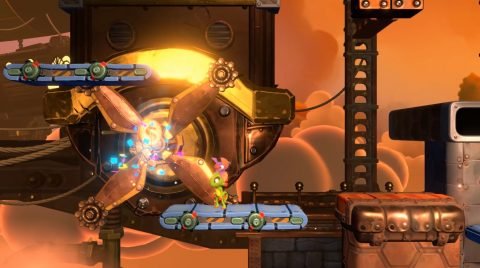
Make your way past the conveyors and sawblades to some more conveyor windmills. To the right of them you’ll find Checkmate 3.
When you see the Green Quill don’t grab it. Instead drop down and you’ll find a hidden door. Go inside and use the cannon to be shot across to Coin #2.
Head back out through the top green door. Run up the conveyor ramps while avoiding the small sawblades. Just before Checkmate 4 do a slam jump to the left (or bounce off one of the gremlins) to reach Coin #3.
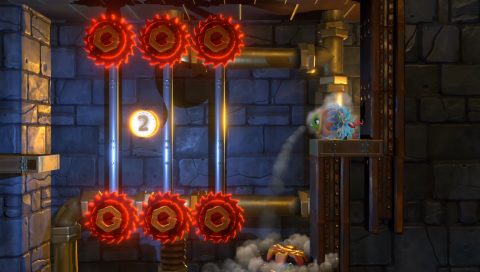
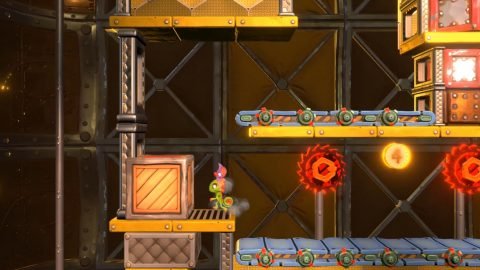
Make your way under the large wheel and then over the windmill conveyors to Checkmate 5. Ride the next conveyor across to the right while ducking under the pipes. Ride it all the way to the top and drop down into the central structure. At the bottom of this you’ll find Coin #4 between two sawblades.
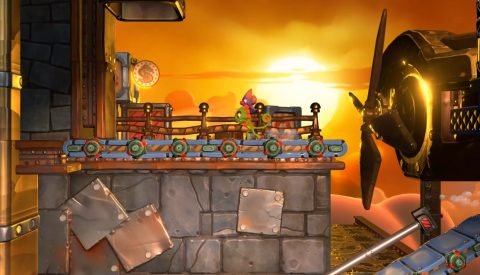
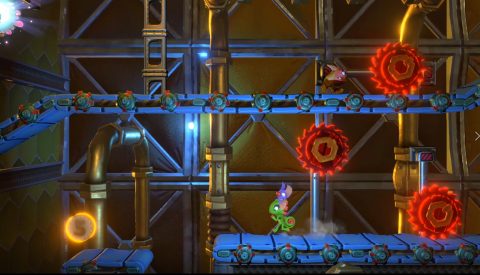
Head out to the right to Checkmate 6. Follow the conveyor up but when you can drop down run along the lower conveyor to the left. At the end you’ll find Coin #5 on a small conveyor.
Make your way along the final conveyor section to the Beettalion egg where you’ll rescue Hive Rustle.
Next: Chapter 11: Conveyor Chaos – Crosswire
Back: Chapter 10: Ropeburn Ridge – Rerouted