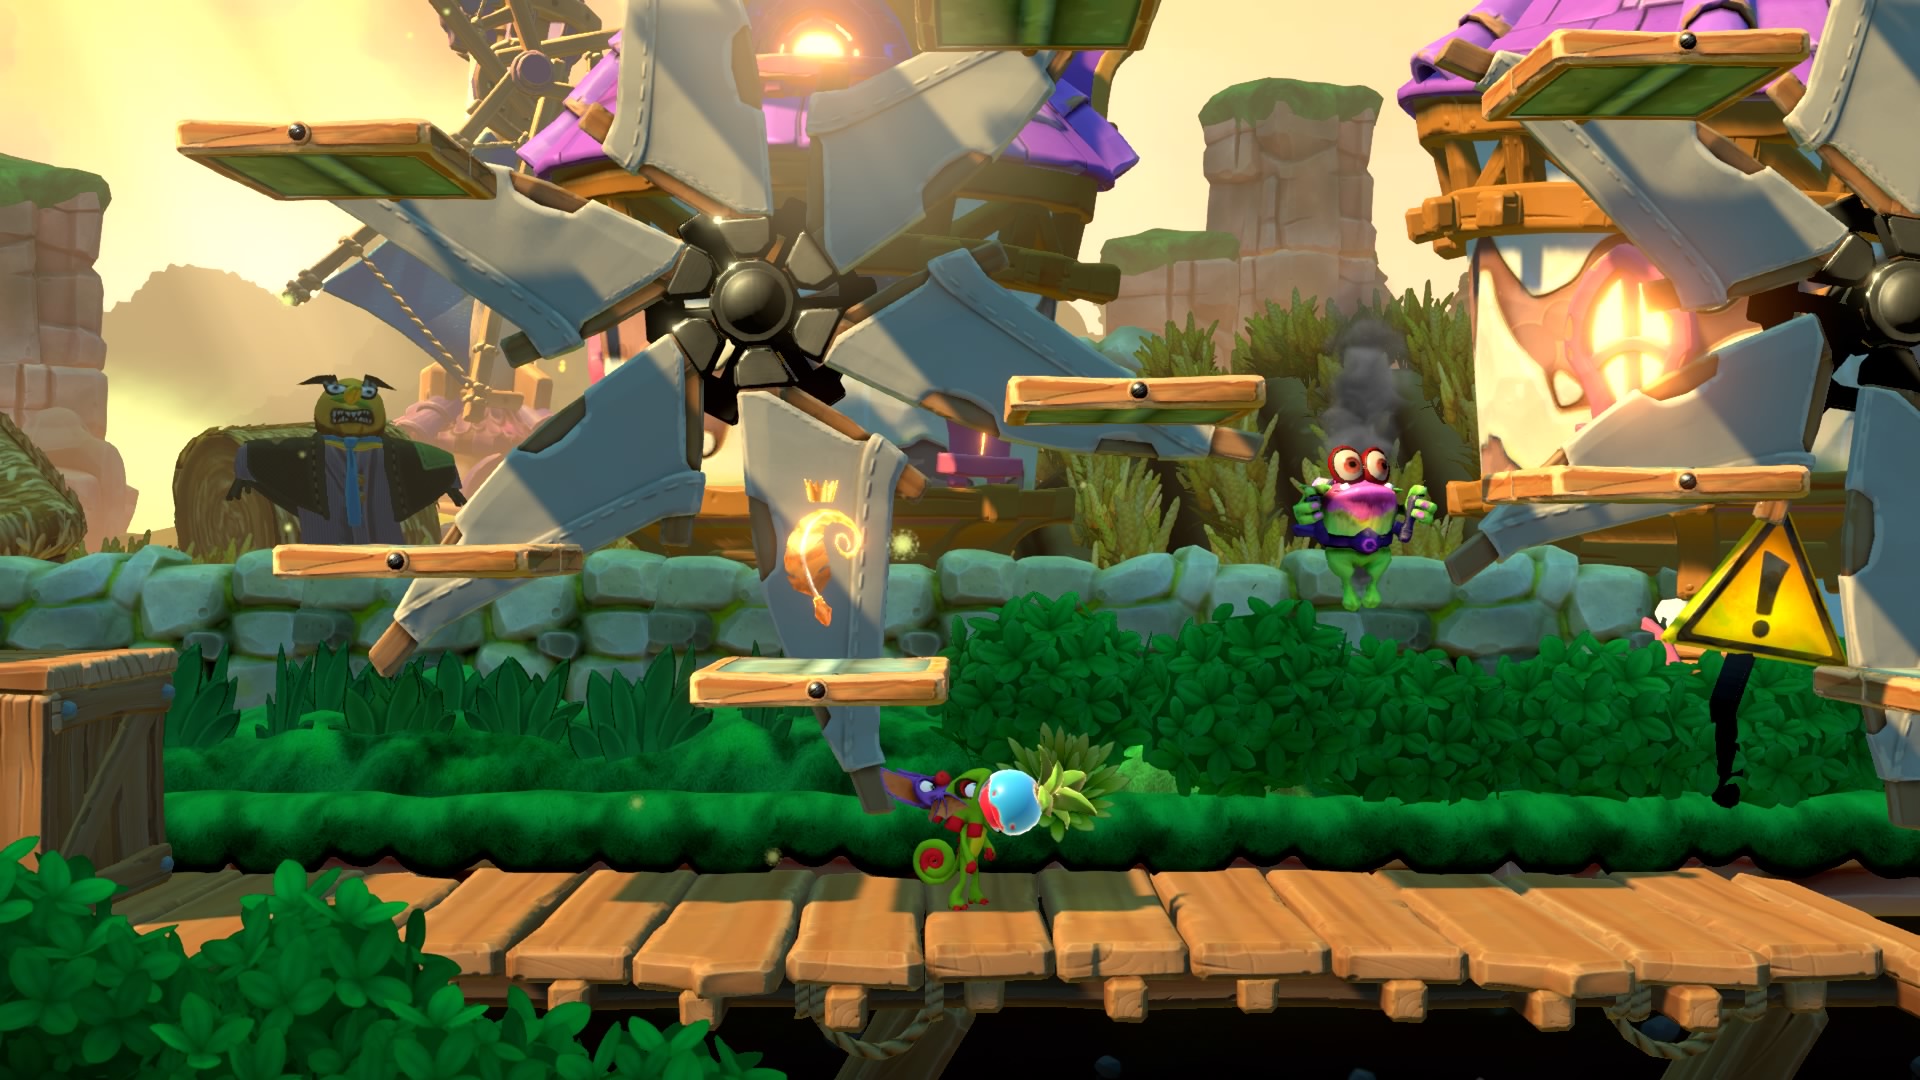
The Impossible Lair
Back to Yooka Laylee and the Impossible Lair
The Impossible Lair is the final chapter for the game. You can complete it straight after the tutorial but you’ll have no Bees to help you out. If you do manage to complete it on your first try you’ll receive Tonic #62 (The Golden Try).
For this chapter you’ll need to defeat Capital B and then get through a portion of the level. This repeats 4 times for 4 boss battles and 4 level sections in total. The last section is an escape sequence.
After completing one section you have the chance to start the chapter from the beginning of that section with the number of bees you had when you got there. The second section is the most difficult and you can expect to lose about 20 bees on that section alone.
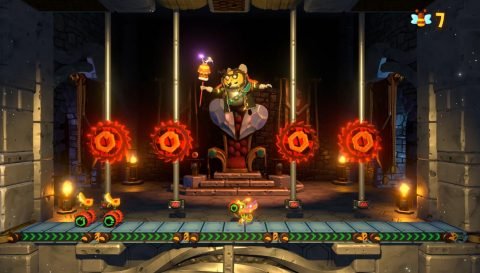
Boss Battle #1
The first boss battle is pretty easy. Hit Capital B four times to defeat him. He has a couple of attacks including shooting energy balls and dashing towards you. If his scepter is pointed towards you it will damage you if you touch it. Make sure you perform a jump and spin to clear the scepter and jump on Capital Bs head.
Section #1
The first section of this level will get you warmed up for section 2. Unfortunately you can’t use any tonics for this level so you’ll only have your basic Yooka skills.
Take each obstacle slowly and expect to need a few practice rounds before making it all the way through. The timing for the robot flamers, helicopter enemies and other obstacles is tricky. If you fail just try to do better than you did last time. Check out the video above if you need help with any particular part. I try to get through this section with about 40 bees remaining.
Boss Battle #2
Capital B gets a few new moves and you’ll have to hit him 13 times before he gives up and flies away. He has the energy balls and charge from the first fight but also a downward slam and an awkward charge attack while firing an energy ball.
Other attacks include 3 energy balls in a row and mines that he drops down from the roof. Once you’ve defeated him head through the door to the next section.
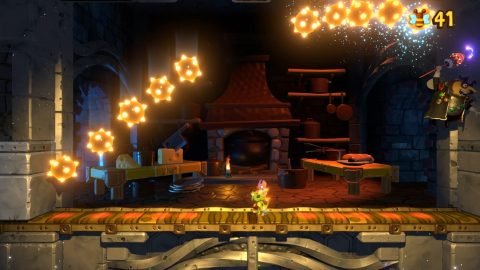
Section #2
There’s a tricky little ice area at the start of this section. It is possible to get through it without taking damage. You need to roll once and then duck to slide under the low ice spikes.
Make your way up the ropes while avoiding the sawblades and helicopter enemies. After this you’ll need to make it up a lift while avoiding the helicopter enemies.
After this is a small water section. Take your time during this section and try to get through it with losing as few bees as possible. When you get out you’ll be attacked by 2 homing missiles so jump to the next area as quickly as possible.
For the next part you need to ride a few lifts that move agonizingly slow. After this head up the windmills, then up a rope and across to another lift.
Make it through another ice section with a windmill in between. Ride up the slow ice lift and then across the rope section. Ride up another lift and then go through the door for the third boss fight.
Boss Battle #3
Capital B starts by jumping across the bottom of the screen. Roll under him and jump on his head when he stops at the wall.
He has a few other attacks including a shooting blue fireballs and throwing bombs at you. When he throws bombs grab the one that isn’t activated and throw it at Capital B.
When Capital B only has a few hits remaining he’ll surround himself with energy balls. They’re quite easy to avoid so just step around them and follow Capital B to the wall where you can hit him.
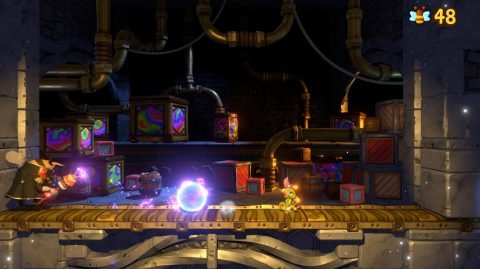
Section #3
With section 2 finished the hardest part is out of the way. It will take a bit of practice getting past the numerous moving sawblades without taking too much damage.
This section introduces conveyors and moving trapdoors. Try to be patient with your timing and if you take too much damage just start again from the beginning of this section.
Once you make it past the final moving trapdoor obstacle you’ll find the door to the final boss fight.
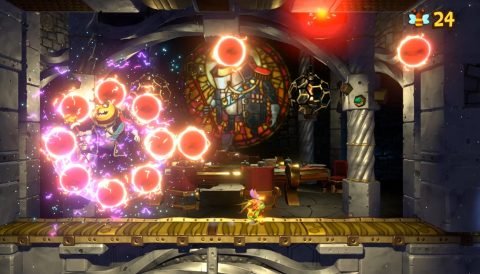
Boss Battle #4
For the final boss fight you’ll need to hit Capital B about a dozen times before he drops his scepter. He has a few new moves including turning the floor into a conveyor and changing the direction while you’re fighting.
He’ll also shoot out homing missiles which are very hard to avoid. If you’re going to get hit try to stay near Capital B so he gets damaged in the explosion.
Towards the end Capital B will call down sawblades. Stay in the center and wait for Capital B to attack. Once the top of the scepter has broken off go and pick it up. You’ll now be in control of Capital B. Keep him near the sawblades to finish him off.
Section #5
The final section is a chase sequence. You have 90 seconds to make it out alive. If you have at least a couple of bees left this section will be easy. Just roll and jump your way through this section to the end of the level.
Congratulations on completing one of the most difficult platforming levels of any game!
Return to Yooka-Laylee and the Impossible Lair