Ch 12: Buzzsaw Falls – Frozen
Back to Yooka-Laylee and the Impossible lair
From the start jump up the ice platforms to the left, grab the Fruit and use it to break the box if you want a few extra Quills.
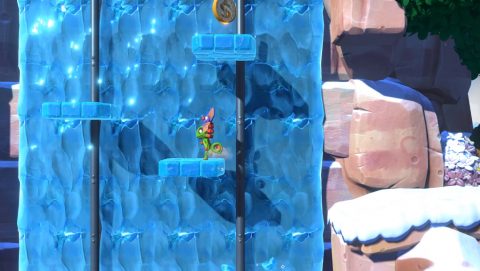
Make your way to the right and down the ramp with the rolling snowballs. Just past the Laylee Bell you’ll see a set of ice ledges with Coin #1 at the top. If you make a mistake just wait a few seconds and the ice ledges will re-appear.
Continue to the right for Checkmate 1. Make your way up the ice ledges to the green door. Jump over the sawblade to a secret room with Coin #2.

Checkmate 2 is just to the right of the door. Continue to the righ to another Laylee Bell. Make your way up the net platforms and continue to the right through the purple door. Ride the platforms up to another green door and go through.
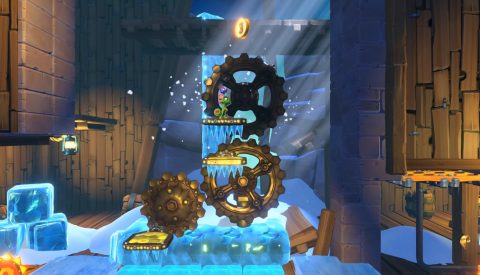
Hit Checkmate 3 and either dodge the snowballs on the top ledge or bounce along the Red Quills at the bottom. Make your way up the ramp past the snowballs and through the next green door to Checkmate 4. Ride the platforms up to Coin #3.
Continue to the right to a Laylee Bell and make your way past the spinning sawblades. Head up the netting to Checkmate 5. Ride the platform to the right to another Laylee Bell and go through the purple door.
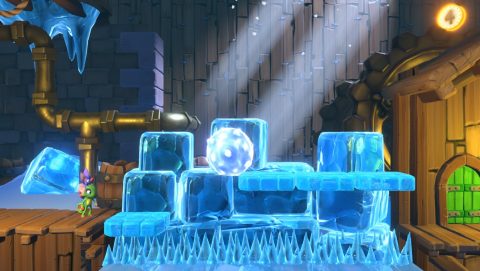
Ride the next platform up while avoiding the falling sawblades and continue to the right. The next coin is quite difficult to grab. Wait for a snowball to come rolling down, jump on top of it, roll off the edge of it and jump up to Coin #4.
Go through the green door to Checkmate 6 and make your way past the Frogs to the next Laylee Bell. Continue across to the right and up the leaf platforms to another green door.
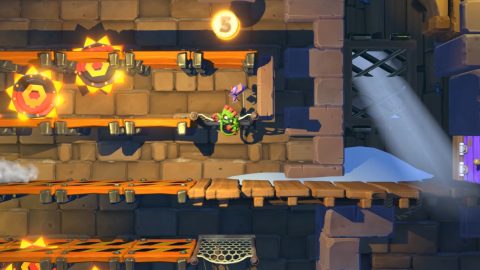
Hit Checkmate 7 and make your way through the net platforms up to Coin #5. You’ll have to avoid the falling sawblades as you go.
Drop down to the right and make your way up the last platform to the Beettalion egg with Stingcent.
Next: Chapter 13: Cliffside Quest
Back: Chapter 12: Buzzsaw Falls