Ch 20: Scareship Scroll
Back to Yooka Laylee and the Impossible Lair
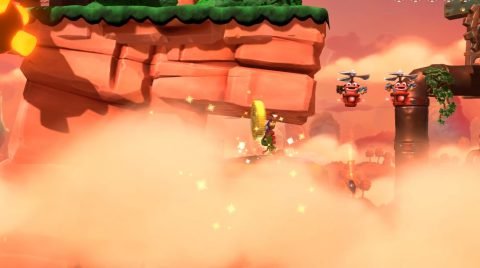
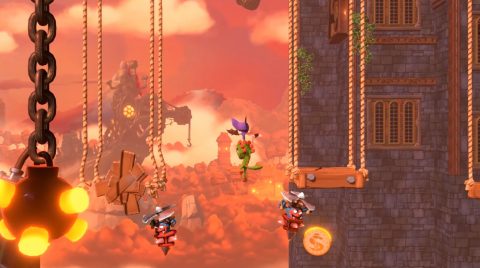
This level features a couple of chase scenes. The camera is focused on the ball and chain rather than Yooka so you’ll need to stay away from the chain while also not getting to far away from it.
From the start make your way to the right as the chain follows along. After the collapsing platforms you’ll find Checkmate 1. Jump onto the crates to the right and wait for them to drop down. Jump into the hidden cave to the left for Coin #1.
Head to the right and wait for the chain to smash the ledges so you can drop down. Continue to the right to Checkpoint 2. The Chain will get stuck behind a pipe.
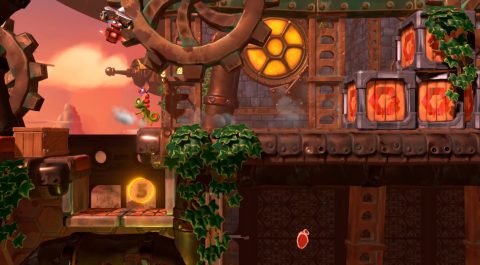
Break the box with the Mine and take it with you down the ramp. Jump on the hovering enemy and up to the cage with Coin #2.
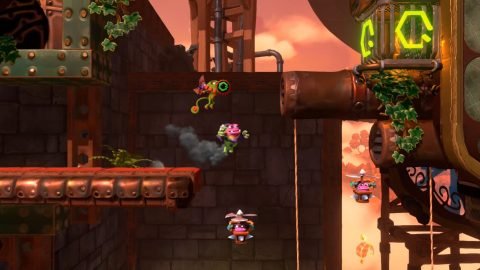
Drop down and slide down the ropes. Jump across the swinging platforms and then climb up the next rope. Make your way across to the netting and climb up.
Just to the right you’ll see a Helicopter Enemy guarding a Blue Quill. Grab all the Quills in time and Coin #3 will appear.
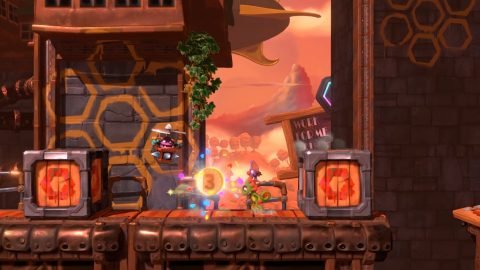
Continue to the right for Checkmate 3. Another chase scene will begin. This one is much tougher than the first. Make your way across the platforms until you see a coin below one of the breakable platforms. Either stand on it and wait for it to break or jump and spin from the previous platform to grab Coin #4.
When you grab the coin you’ll also hit an invisible cannon which will shoot you to the end of the chase scene and Checkmate 4. Head down to the green door and go through.
Continue making your way through the level to the Beettalion but go left instead of right. Make your way past the Crabs to find Coin #5.
Go back and break the Beettalion to find Gorebee Beetail.
Next: Chapter 20: Scareship Scroll – Docked
Back: Chapter 19: Scareship Shootout – Smoggy