
Ch 14: Hazard Hangar – Hung
Back to Yooka-Laylee and the Impossible lair
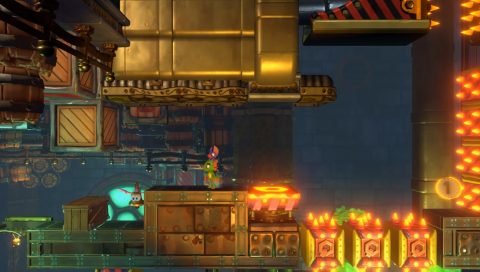
From the start grab the Mine to the left if you want and then make your way to the right. You can use the Mine to blow up the Crab along the way or a cage blocking a few Crown Quills a little further on.
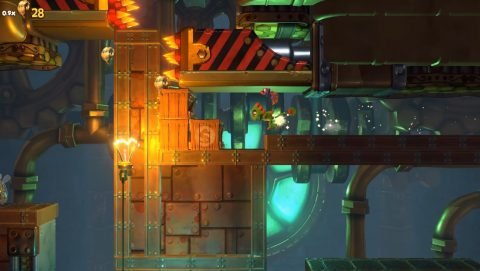
Past the crushers, across from the cage with the Crown Quills, jump across the spiked platforms to Coin #1.
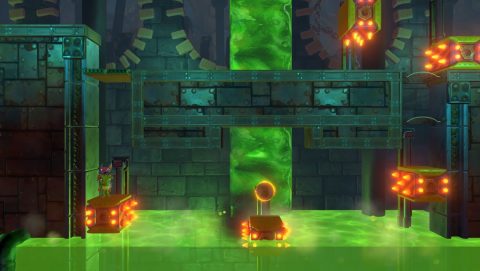
Drop down and make your way across the slime pond. Break through the boxes and use the Mine in the box to kill the next crab. Jump the netting to Checkmate 1. Go left first. Dodge past the crushers and break the box with Coin #2.
Go back to Checkmate 1 and make your way past the spiked platforms and Crab. There’s another Mine here so grab it to kill the next Crab before you buddy slam down the trapdoor. In the center of the slime pool you’ll find Coin #3.
Jump up and the continue to the right. Grab another Mine and kill the next Crab just before Checkmate 2. Head past the crushers to the spiked platforms. A little further you’ll find yet another Mine. Grab it to kill a Crab a little further on. Along the way you’ll pass Checkmate 3.
Use the spiked platforms to get up to a small pipe to the top right. Then roll and jump along the two higher platforms for Coin #4.
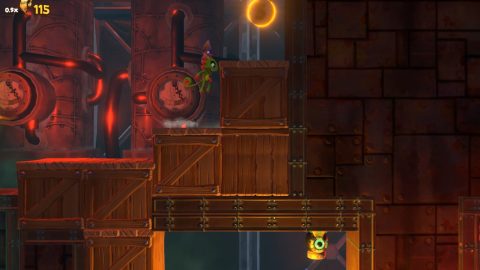
Make your way to the right across the open area with spiked platforms to the next building. Run all the way to the right but don’t break all the boxes. Just break one of them and use the rest to get up to Coin #5.
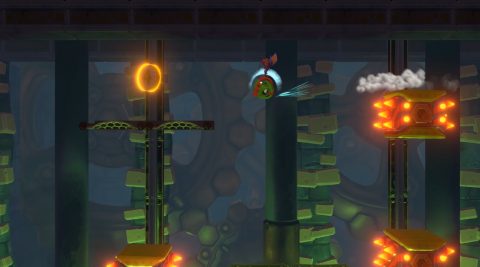
From here break the boxes and make your way down past the homing missiles. They can be hard to dodge while you’re trying to break boxes. In the room to the right you’ll find the upside down Beettalion. Use a homing missile to break it and you’ll rescue Andbee.
Next: Chapter 15: Turbine Trouble
Back: Chapter 14: Hazard Hangar
