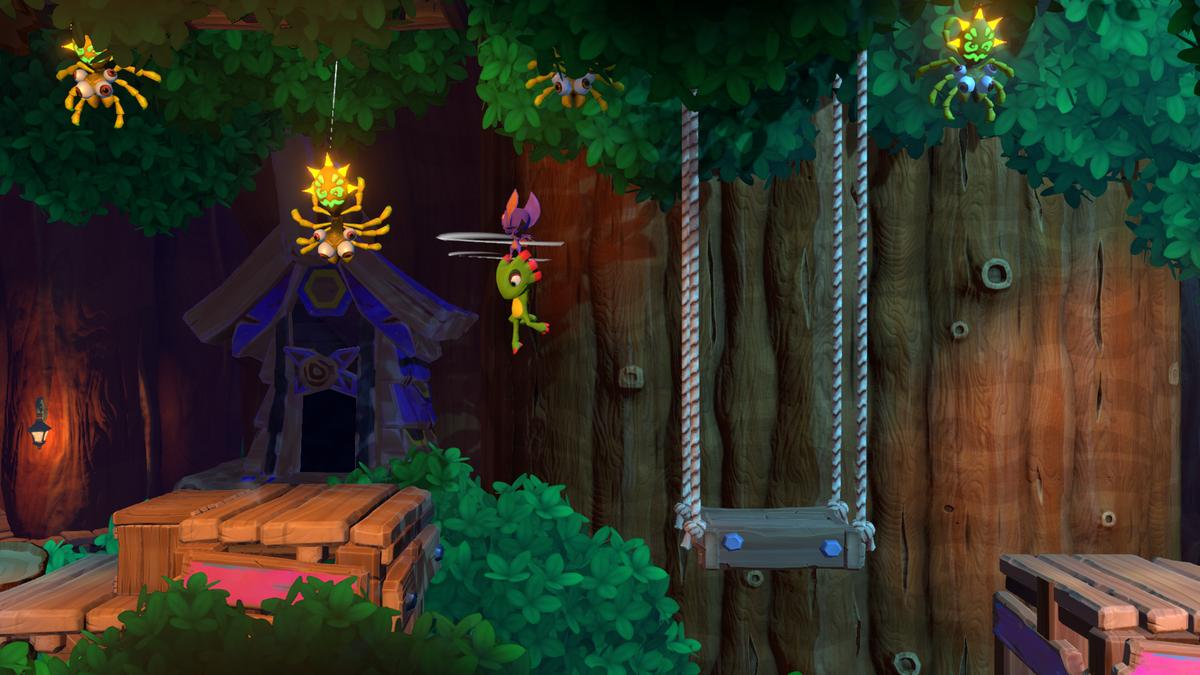
Ch 10: Ropeburn Ridge – Rerouted
Back to Yooka-Laylee and the Impossible lair
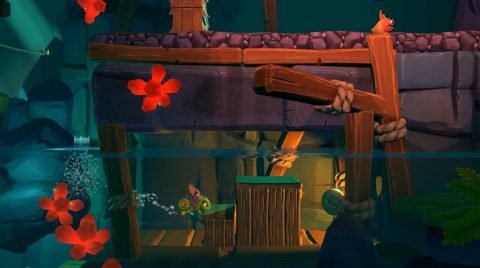
From the start swing across the ropes to the right. Drop down into the water at the last rope and swim under the ledge for Coin #1.
Head to the right and up the rope. Swing across the ropes to the left and roll over the bridge. On the other side you’ll find Checkmate 1.
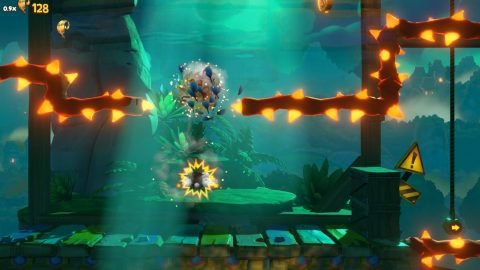
Continue past the next rope section as the rope moves along to the left. Ride the next rope up and make sure you grab the fruit. Ride the next rope to the right but stay high up. When you see the box throw the fruit at it. Coin #2 will slowly fall to the ground.
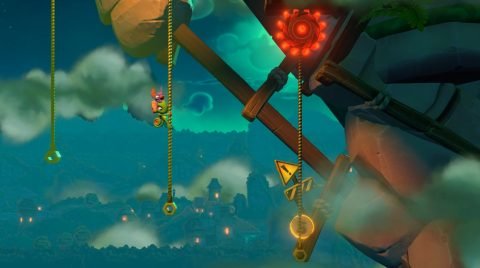
Ride the next rope along to Checkmate 2. Continue making your way up and around the cavern by using the ropes. When you come to Checkmate 3 ride the rope along to the right.
When you reach the next platform jump off the enemies head to the Quill. It turns into a cannon and shoots you across to Coin #3.
Ride the next rope along but don’t jump off at the end. Instead climb up and the rope will start going back to the left into a secret cave. Grab Coin #4 and then let the cannon shoot you across to Checkmate 4.

Head up the next rope and then across to the left to Checkmate 5. Climb up and then swing across the rope to the next one.
Make your way across to the left while avoiding the jetpack enemies. Jump over the Beettalion and drop off the edge to the left. Drop down the ropes below to Coin #5.
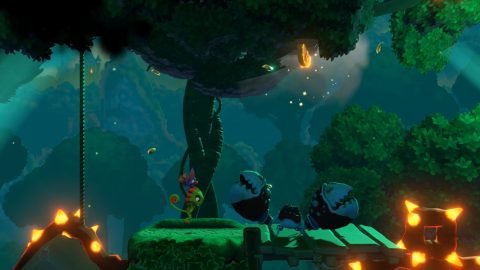
Climb back up and break the Beettalion egg for Lawinsect.
Next: Chapter 11: Conveyor Chaos
Back: Chapter 10: Ropeburn Ridge