Ch 10: Ropeburn Rridge
Back to Yooka-Laylee and the Impossible lair
From the start break the box with the Fruit to the right if you want it and then swing across the ropes all the way to the left. Dive down when you reach the wall and look for the hidden area with Coin #1 under the walkway.
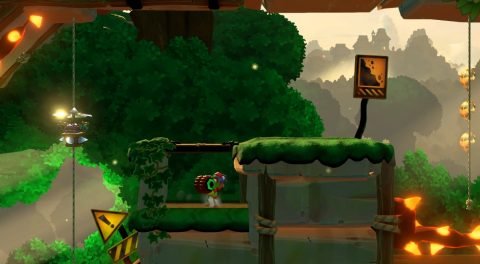
Climb up the rope and continue making your way across the ropes back to the right. Climb up another rope for Checkmate 1. Now head back across the ropes to the left. Climb up the ropes past the jetpack enemies and then past a bouncy frog to Checkmate 2.
Climb up the next rope and continue follow the cavern around to the left. Jump up the next rope and into the cave to the left. You’ll find Coin #2 hidden in a cage.

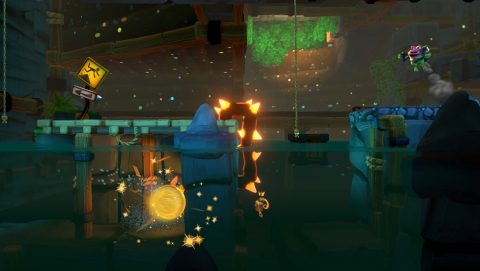
To get the Mine to break it open you’ll need to jump across the ropes to the right, past the helicopter enemies and smash down through a trapdoor. Inside you’ll find the Mine. Take it back so you can grab the coin.
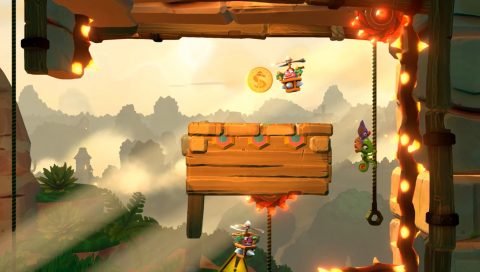
Continue across the ropes to the right while avoiding the helicopter enemies and jump behind the sail for Coin #3.
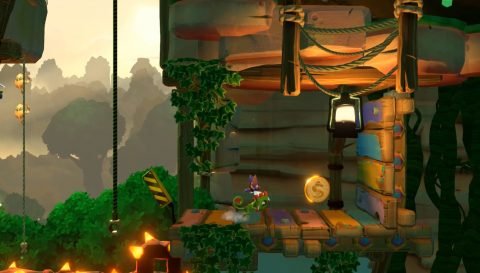
Ride the rope up to Checkmate 3 and continue to the left. Coin #4 can be found on a ledge above. Watch out for the helicopter enemies doing laps around the platform.
Ride up the next set of ropes to the left until you find Checkmate 4. Now head back to the right across the ropes. You’ll find Coin #5 down the bottom of one of the ropes. You’ll need to drop down to it and quickly grab the rope before you hit the spikes.

Climb up the last rope and break the Beettalion egg for Honeysue.
Next: Chapter 10: Ropeburn Ridge – Rerouted
Back: Chapter 9: Urban Uprise – Updraft