
Ch 7: Production Path – Panic
Back to Yooka-Laylee and the Impossible lair
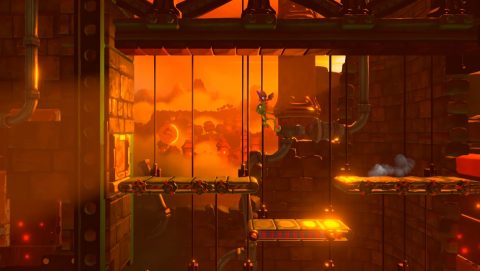
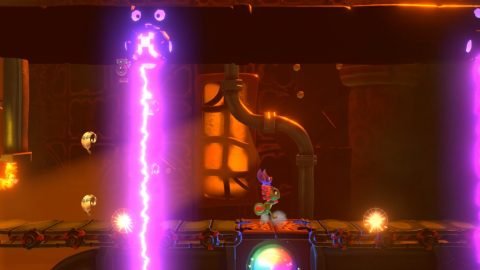
From the start you’ll need to move quickly before the laser beam catches up with you. Jump across the wheel and roll as fast as you can to Coin #1.
Drop down and continue to the left past the next wheel. Head up the ramps to the Laylee Bell and past the set of crushers.
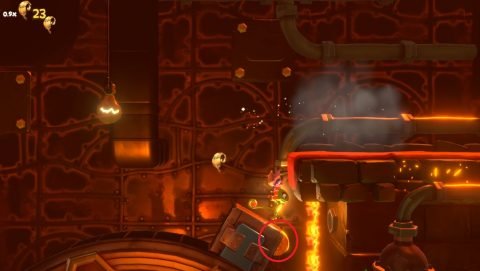
Dodge past the spinning sawblades, past another set of crushers and drop down for Coin #2 hidden on the right side of the wheel.
Quickly continue to the left to Checkmate 1 and jump off a large box to the upper set of conveyors. Make your way along them to Coin #3.
Continue jumping to the left to the last conveyor for Coin #4.
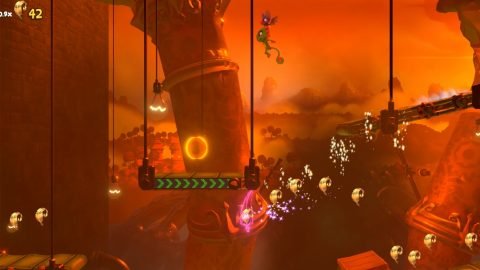
Drop down and continue to the left past the spikes to Checkmate 2. Make your way to the Laylee Bell and then you’ll need to wait for the laser beam in front of you.
Make your way along the conveyor and when you see the trapdoor buddy slam through it to the portal for the secret exit. This takes you to the ledge above in the overworld where you’ll find a Beettalion.
To get to the regular exit you’ll need to complete the level again up to this point. Continue past the trapdoor to the end of the conveyor Where you’ll find Checkmate 3.
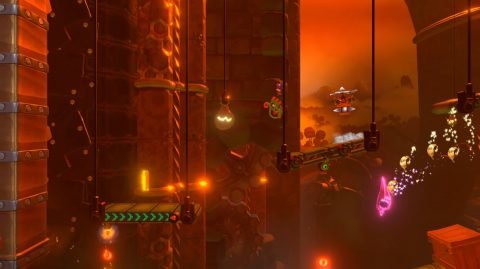
Make your way under the next three wheels to Checkmate 4. Run along the conveyors to the left and jump over the Beettalion egg. You’ll find Coin #5 hidden behind the wall to the left.
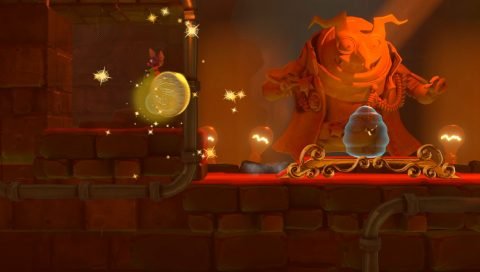
Break the egg for a Beettalion named Justing.
Next: Ch 8: Windmill Way
Back: Ch 7: Production Path
