Ch 18: Pumping Plant – Powered
Back to Yooka Laylee and the Impossible Lair
From the start ride up the wheel to the left. Ride it all the way around to the other side and enter the secret area for Coin #1.

Go under the wheel back to the starting Checkmate. Make your way to the right and jump across the water when you come to it. The water is electrified so don’t go near it.
Continue to the right and when you come to the next wheel use the spoke to get up into the secret area for Coin #2.
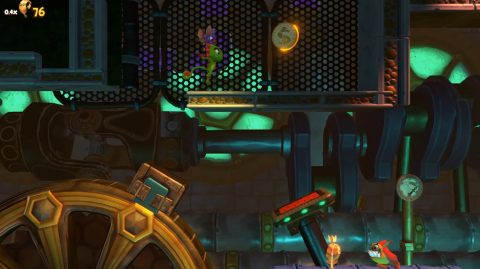
Make your way across the wheels to the right and go through the green door to Checkmate 1. Head across the wheel and conveyors to another wheel in the water above. Ride it to the right, grab the Mine from the box and use it to kill one of the Helicopter Enemies guarding the next coin.
Ride the wheel along and when you find the gap in the enemies jump up to grab Coin #3.
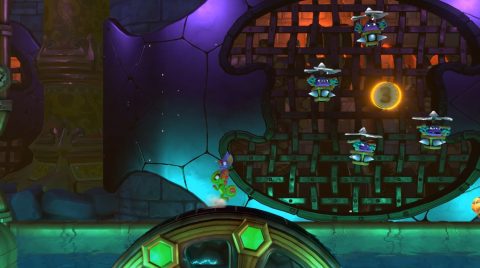
Ride the wheel across to the other side and then ride the next wheel. This time you’ll need to avoid Helicopter Enemies along the way. Jump off on the other side and go through the green door to Checkmate 2.
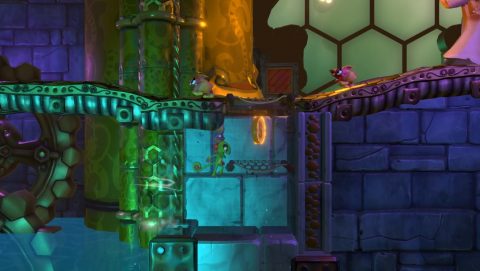
Climb up the wheels and make your way across to the right. Jump on the wheel to start it spinning and jump off again. Wait for the wheel to turn around until you can see Coin #4 between the molten spokes.

Jump across to grab the coin and ride the wheel to the other side. Head along the conveyor to the other side and make your way across the moving platforms.
Jump across the wheels to the other side and you’ll find Checkmate 3. Make your way across the moving platforms and under the wheels with molten spokes. On the final set of platforms take a long rolling jump to the ledge under the main walkway just as the platform is furthest to the right. Here you’ll find Coin #5.
Jump up and smash the Beettalion for a bee called Christingpher.
Next: Chapter 19: Scareship Shootout
Back: Chapter 18: Pumping Plant