Ch 15: Turbine Trouble – Tidal
Back to Yooka-Laylee and the Impossible lair
During this level the tide will be rising and falling. It’s harder to swim against the tide so remember that when you’re trying to get past obstacles.
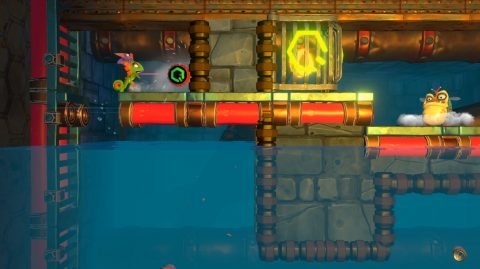
From the start swim up and make your way across the wheel to the right. Go through the green door and then the next green door. Climb up the rope to the left and drop down the trapdoor past the purple door. Drop down the next trapdoor and head across to the left. Spin jump into the boxes blocking the hidden path to the left. Dive into the water and swim down for Coin #1.
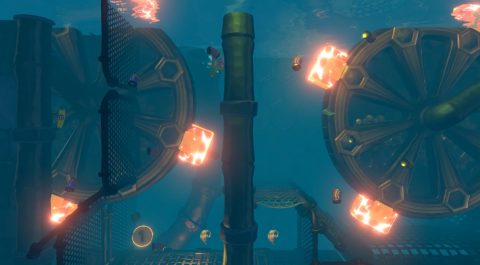
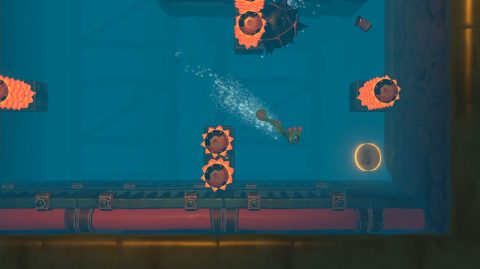
You can’t get back up so swim to the right and swim through the netting. Make your way past the next wheel and towards Checkmate 1. Swim up past the Octopuses and into the pipe with the molten rollers when the tide is up.
Swim past the molten rolls and to Checkmate 2 on the other side. Continue swimming around past the Octopuses. At the bottom swim into the hidden chamber to the left. Behind the large Blowfish you’ll find Coin #2.
Swim to the right for Checkmate 3 and then swim up past the wheels with molten spokes. Up the top you’ll find Checkmate 4 but don’t go that way yet. Instead swim up the very top left corner when the tide is up. You’ll come to a passage with molten rollers. At the end you’ll find Coin #3.
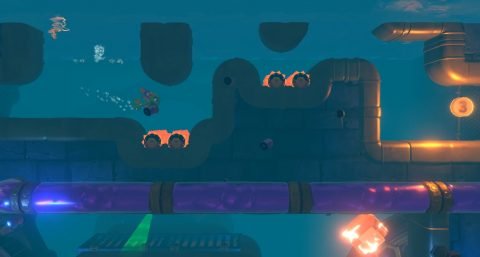
Swim back to Checkmate 4 and then down through the next set of wheels. Swim through the pipe while avoiding the Octopuses and up through the hole in the roof while the tide is up just before Checkmate 5.
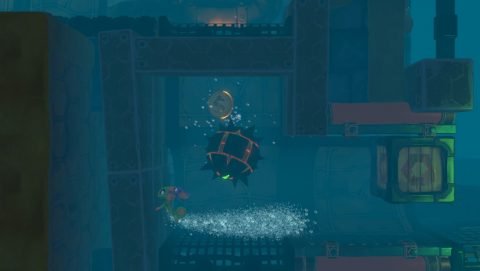
Swim up to grab the Mine in the box and then swim around to the other side to break the cage with Coin #4. You can only swim up to the top areas when the tide is up.
Swim back down to Checkmate 5 and make your way down past the enemies. At the bottom you’ll find a Laylee Bell. Swim up the other side for Checkmate 6 and keep swimming up past the Octopuses.
Get out up the top during high tide and go through the green door. On the other side you’ll find the Beettallion but jump over it. Dive into the water on the other side for Coin #5.
Swim back out and break the Beettalion to rescue Beeve.
Next: Chapter 16: Queasy Quay
Back: Chapter 15: Turbine Trouble