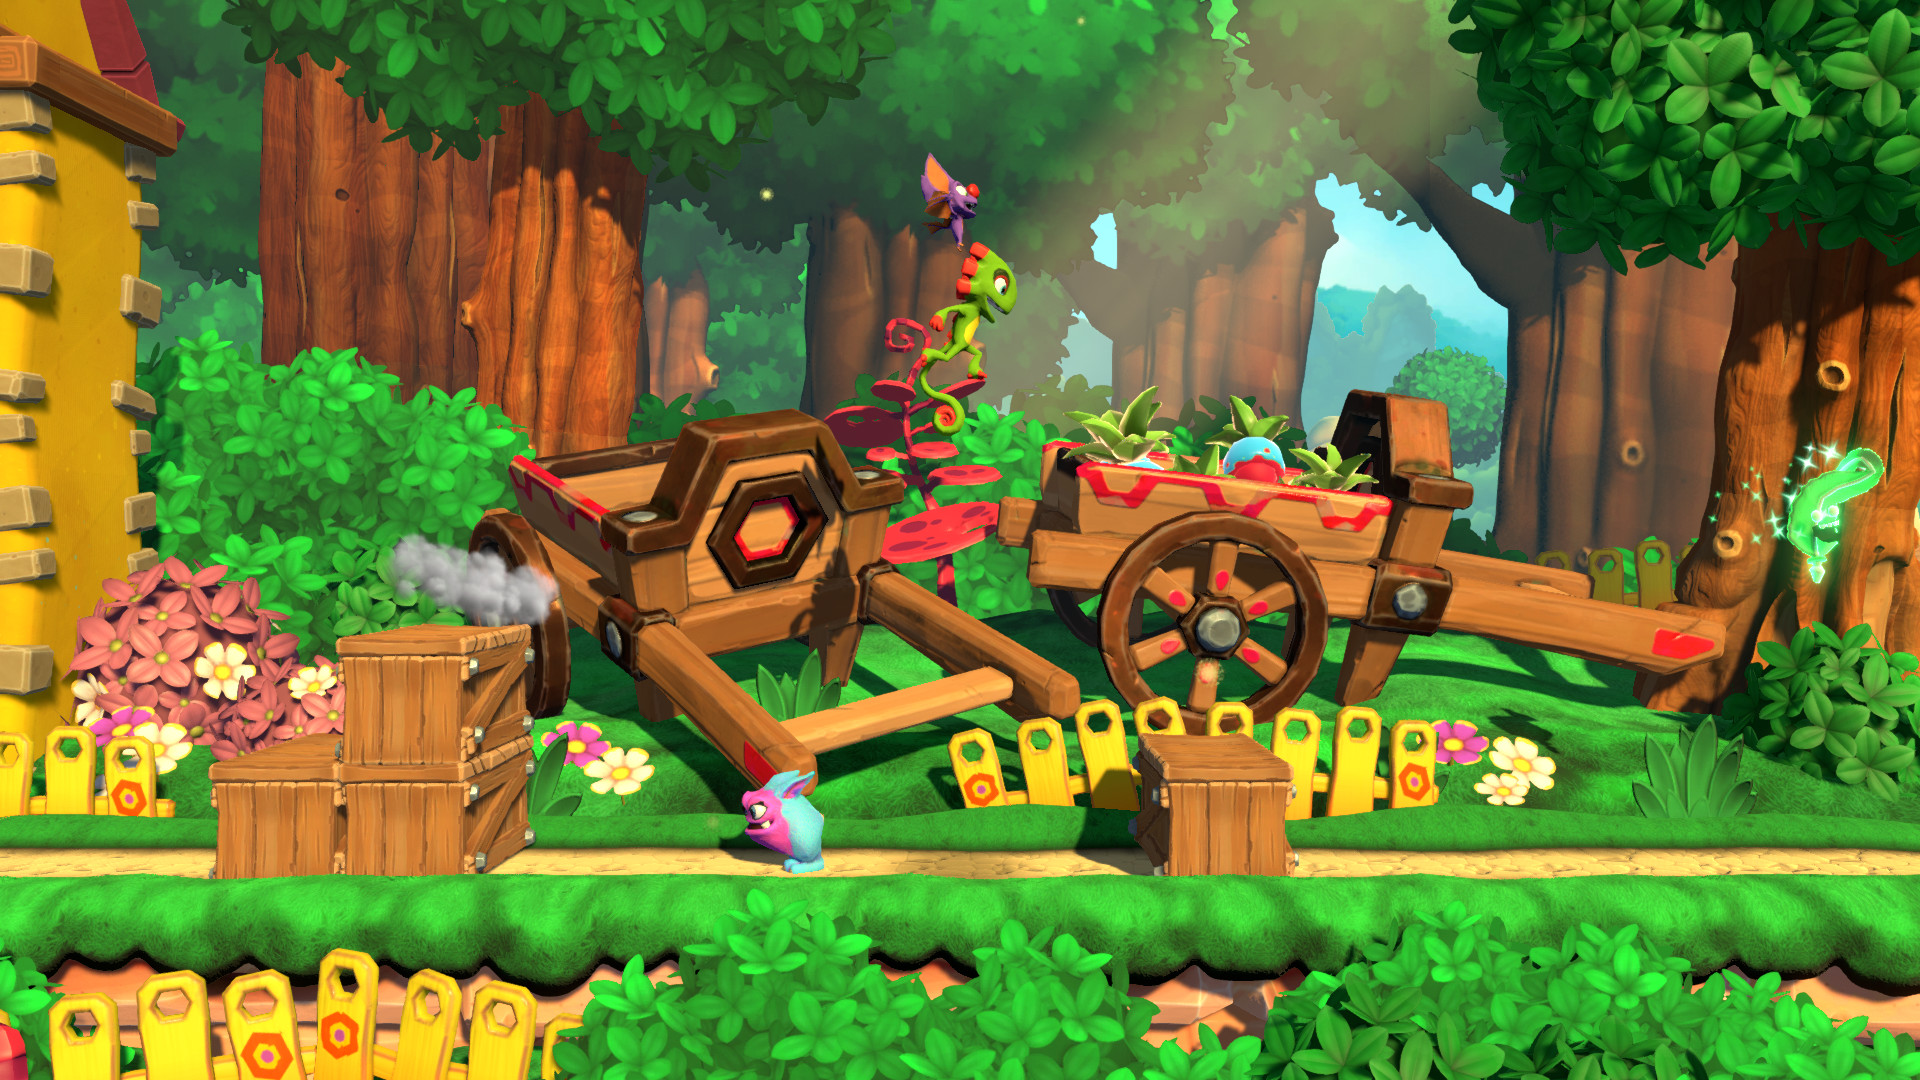
Ch 8: Windmill Way
Back to Yooka-Laylee and the Impossible lair
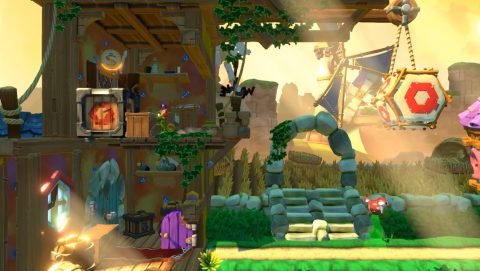
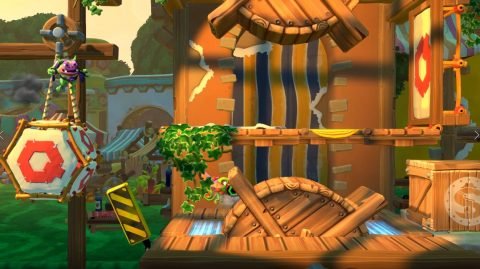
From the start bash through the purple door to the left for some extra Quills and then head to the right. Make your way up to the top of the windmill and take a long jump to the hanging object to the left. From here jump across to the hidden room above the Quills for Coin #1.
Head back back to the right and continue through the next purple door. Make your way through the house and push the wheel at the top. Wait for Coin #2 to spin around.
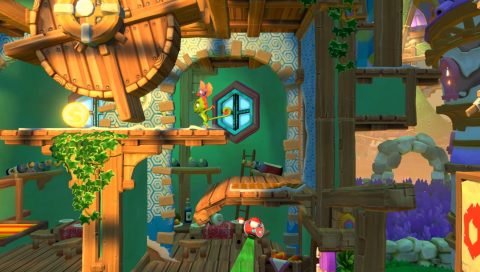
On the other side of the house you’ll find Checkmate 1. Jump across the hanging objects and go through the next house.
Continue past the wheels to Checkmate 2 but watch out for the Psycho Snail. Head out the exit to the bottom right and you’ll find Coin #3 outside by the next wall.
Go back into the house and make your way to the top. Take the exit to the top right through the purple door. Just past a colored wheel you’ll find Checkmate 3.
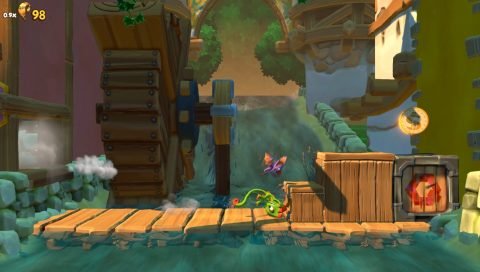
Take a series of jumps over the dangling objects and Jetpack Gremlins to the other side. Don’t knock over the bridge on the other side. Instead you want to take the lower path and break the box for Coin #4.
Head across the colored wheels and rooftops to Checkmate 4. Push over the next bridges and go through the purple door. Watch out for the two Psycho Snails. Out the other side of the house you’ll find Checkmate 5.
Jump across the next set of colored wheels and windmills. Continue across to the right for the Beettalion but don’t smash it yet. Jump over it and let the Psycho Snail break the boxes. Throw the flower down and use it to jump over the wall. You’ll find Coin #5 in the passage below.
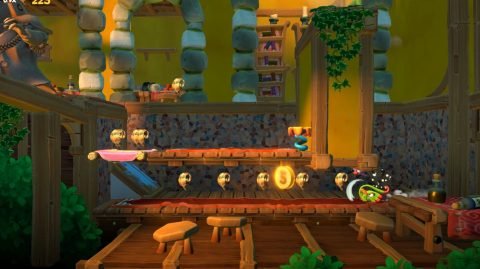
Jump back up and smash the Beettalion to end the level.
Next: Ch 8: Windmill Way – Windy
Back: Ch 7: Production Path – Panic