Ch 3: Wild Web Woods
Back to Yooka-Laylee and the Impossible lair
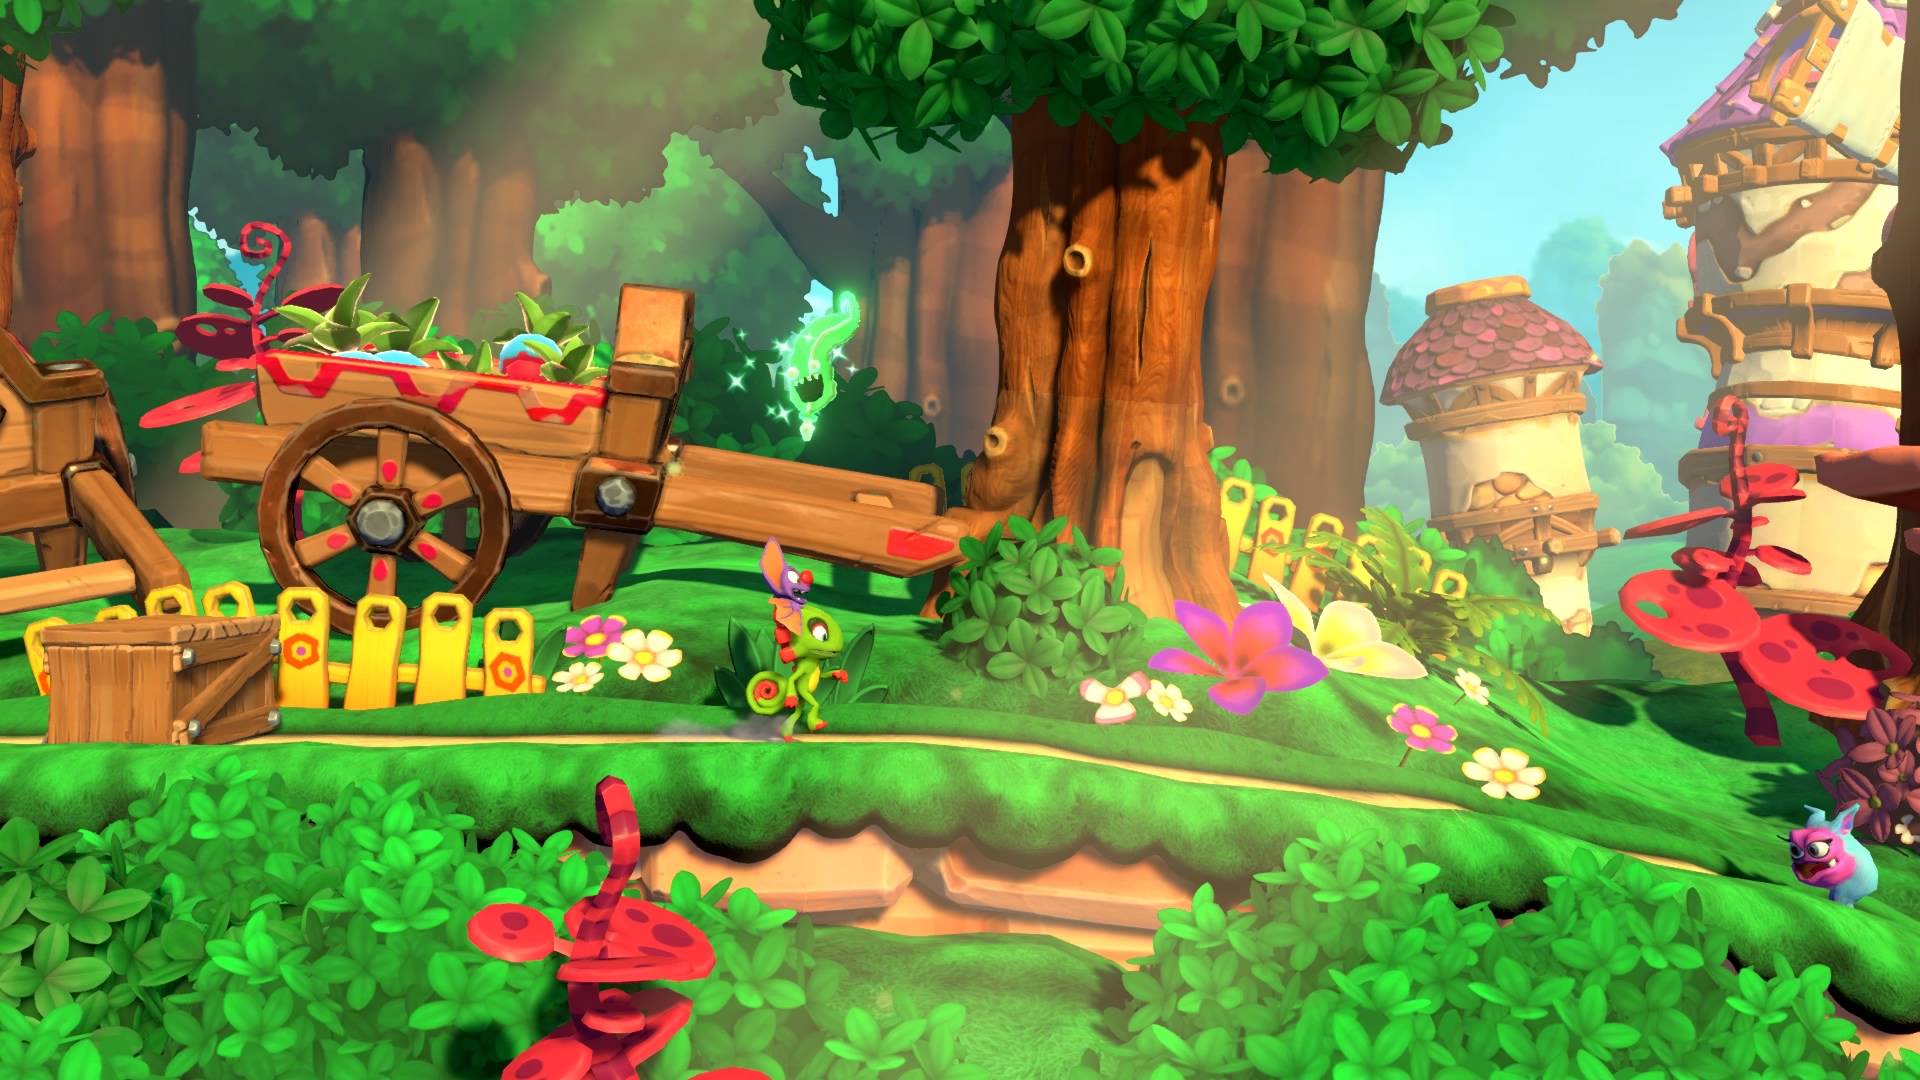
From the start Walk to the left and do a buddy slam with a roll and jump to make it up to the ledge. Break the small box for Coin #1.
You can also make it to this location by bouncing on the rocket creature floating near the quill to the right. The quill turns into a cannon and you’ll be shot across to the first coin.
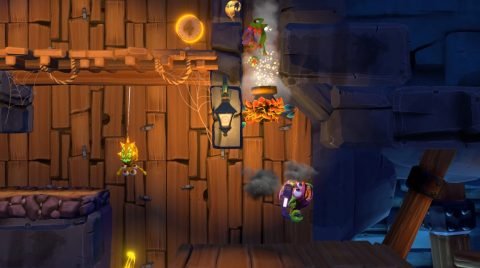
Continue to the right and roll past the spiders through the log to the first Checkmate. Continue to the right and you’ll quickly come across Checkmate 2.
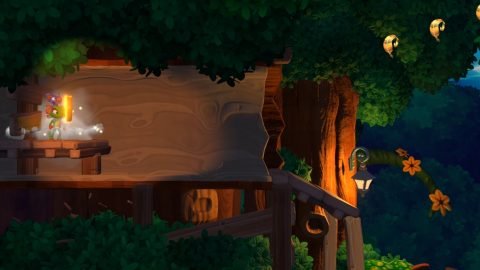
Head to the right across the walkway and you’ll come to a trapdoor that you need to slam onto to open. Drop down the leaves and break the box at the bottom for the Mine. Throw it at the grab and grab Coin #2.
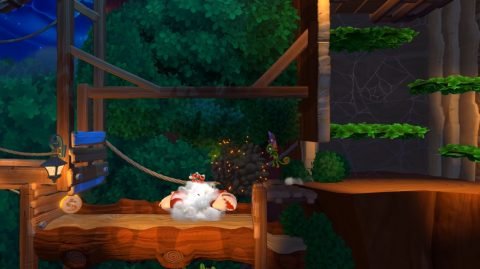
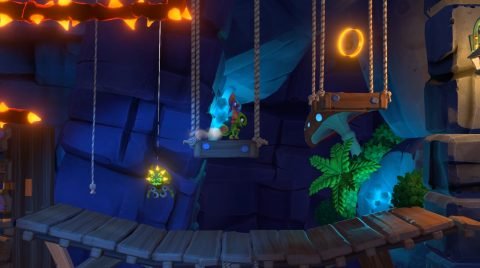
Climb back up the leaves and through the trapdoor. Swing across the rope to Checkmate 3. Continue swinging across the ropes and platforms to Checkmate 4.
Swing across to the right and make your way to two ropes dangling down. Jump through the gap in the thorns to the second rope and climb up. Break the box for the Mine and throw it at the cage to release Coin #3.
Jump back to the first rope and slide down for Checkmate 5. Continue across the ropes to the right to Checkmate 6. Make your way past the spiders and slide down the ropes until you see a door to your left.
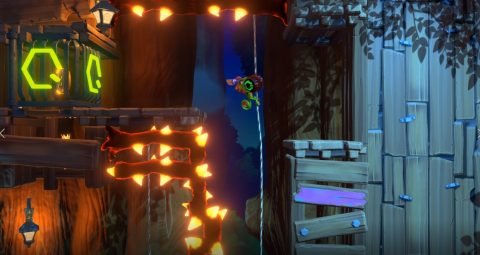
Roll through it and make your way around to the right. Swing across to the next door and roll through. On the other side you’ll find a rocket creature hovering near a cannon. Bounce off it into the cannon. It will blast you to Coin #4.
Continue to the right and you’ll see the Beetalion. Jump over it and climb up the rope on the other side. Jump across the ropes and dodge the spider as you make your way to Coin #5.
Jump back and smash the egg for a Beetalion named Buzza Khan.
Next: Ch 3: Wild Web Woods – Wilder
Back: Ch 2: Factory Fright – Flooded