Level 27: Mount Pain
Back to Final Doom
Mount Pain

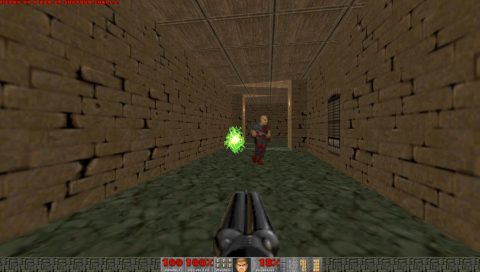
From the Start clear out the enemies in the surrounding area. Watch out for the crusher in the center of the room when you try to grab the Shotgun Shells.
Secret 1 can be found by walk west from the starting location, taking the first left and then opening the different colored wall on the right. Inside you’ll find Health Bonuses and two Stimpaks.
From here continue west and take the next left. Stairs will lift up as you run forwards. Watch out for the Chaingunner in the room behind the fake wall up the top and to the left.
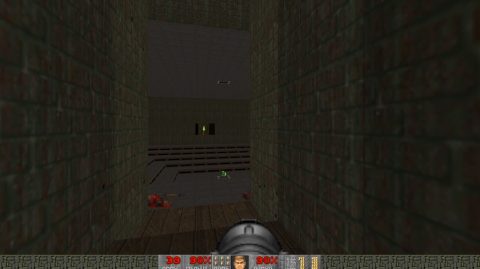
Continue down this corridor to the west, there’s another fake wall with a Chaingunner behind it at the end. Continue along the corridor until you see a room with wooden floorboards. Run back the way you came because enemies will teleport behind you.
Once you’ve cleared out the enemies enter the room with the wooden flooring at the end of the corridor. It will slowly lower down like a lift revealing enemies in the corners and two Arachnotrons in cages. The Arachnotrons won’t attack until you shoot their cages. One of them guards an Invisibility sphere.
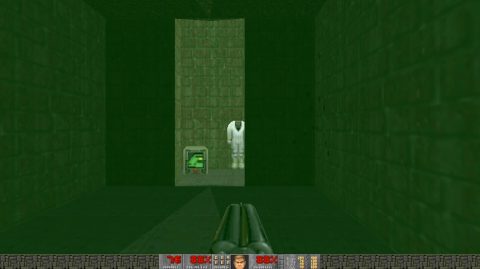
Head east towards the Starting room but take the stairs down to the north. Kill the Imps and grab the Radiation Suit. Step into the triangular light on the floor to open up a wall to the east. Don’t go down it yet, instead backtrack and take the path to the north.
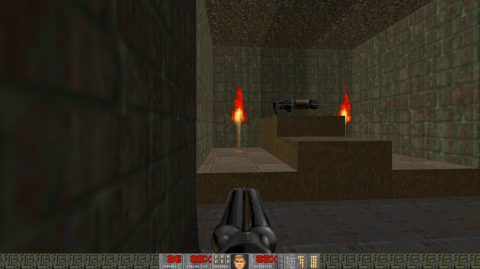
Follow the murky passages around and take a left and then a right. Follow it to the end for a Rocket Launcher. Come back a little and enter the side room. Inside you’ll find a Radiation Suit and a Plasma Gun on some steps.
Grab the Radiation Suit and continue through the dark passages to the east and take a left (north) at the intersection.
Follow this around until you come to another side room. It looks like there’s nothing here. Open the lit up wall for Secret 2 with a Computer Area Map and Radiation Suit. Grab them and then continue on your way.
As you run through the passage you’ll come across another Radiation Suit and a Backpack. Near to the end you’ll see some writing on the wall “Disaster Area”. Open the wall and grab the Green Armor in the corner. This will lower down the wall to the left.
Take out the Gunners and stand on the bit of wall that lowered down. The next wall will lower down with Gunners and Imps. This also reveals the exit. Steps lift up when you get near it.
Run up to the top of the stairs and then run back down again. An Invulnerability sphere will have lowered down.
Grab it, kill all the enemies and then grab the Red Key in the room that opened up. Head up the steps. This takes you back to the Starting area although a few more Imps will have been released.
The western side of the map has been cleared so from the Staring room head to the east. Watch out for the Chaingunner that lower down from the sides and the Shotgun Guys in the small central corridors.
Once you reach the square room at the end you’ll see another 2 Arachnotrons in cages. This time they’ll be released when you open the door to the east and go through. In one of the cages you’ll find the Blue Key. Pick it up and continue through the doors to the east.
After the third door you’ll come to a room with a Mancubus and three doors leading to the north, south and east. There’s a series of corridors which will eventually take you to the Yellow Key in a small room to the east. It’s guarded by 2 Chaingunners.

From this room you can look out the window and snipe off a number of enemies in the larger area to the east. You’ll be going there soon so you might as well clear it out as much as possible.
Head back to the west and there’ll be a few new enemies to face, including 2 Shotgun Guys and 4 Cacodemons in the room that had the Mancubus.
To the west of this room the walls will have opened so you can get out to the north or south to the large outside area.
This is a very difficult area to navigate with Chaingunners, Cacodemons, Lost Souls, and Revenants on pillars.
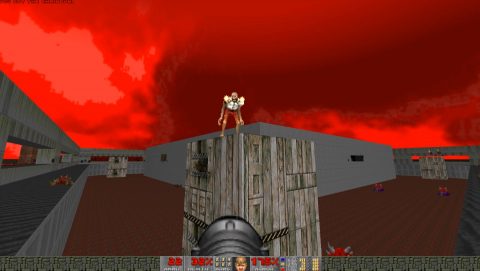
Do your best to clear it all out and then head to the eastern side. Flip the Switch to lower down a lift and take it down to the room below.
The best way to deal with this room is to dash to the platform on the left and kill the Revenant quickly. From here you can hide from the Arch Vile and snipe him off.
Drop down on the southern side and ride the lift up to the next platform. From here dash across to the teleporter. This takes you to the Exit.
Back: Level 26: Ballistyx Next: Level 28: Heck