Level 9: Stronghold
Back to Final Doom
Stronghold
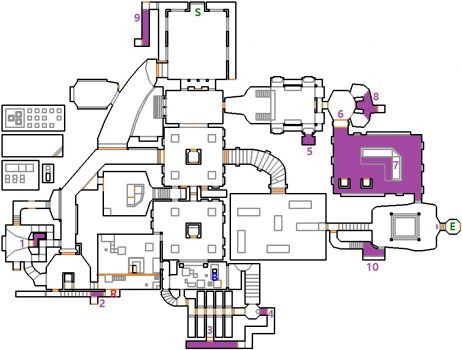
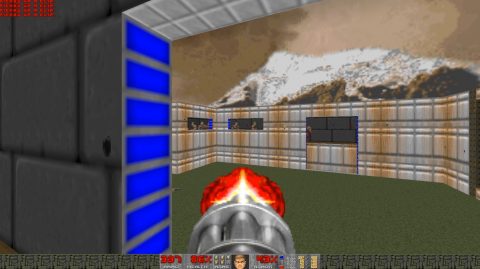
This level contains almost 300 enemies with almost all of them being hit-scan enemies, Zombiemen, Shotgun Guys and Chaingunners. From the Start quickly shoot the Barrels and run through the door to the right.
Clear out the enemies and then hit the Switch in the room to the right to open the large door to the next area.
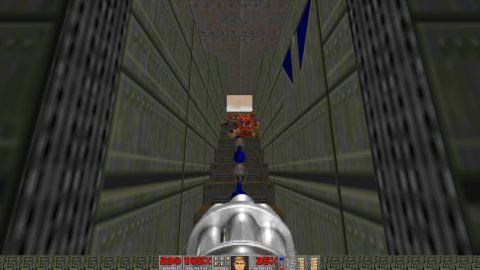
Make your way down the corridor. You can ignore the Shotgun Guys in the window to the right. They can’t see you yet.
Go through the door and then walk towards the Switch in the room beyond. The wall to the east will lower. Quickly go through and clear out the room. Many enemies will be making their way towards you from the corridors to the west so find a good hold point and kill them as they appear. Many will also get stuck on the ledge behind the Switch.
Go back out through the door and up the stairs to the left. Press on the wall with blue lights between the two lamps. This is an elevator leading to Secret 1.

Inside you’ll find Green Armor and a Health Pack. Drop back down and open the narrow door to the north. This leads to the window with the Gunners. Press the Switch to lower the window so you can hop back down to the corridor.
You should see a Switch in the wall ahead of you. Press it to lower down to a room below. Take out the Imps and Gunners and then press the two Switches. One of them lifts up stairs so you can get up to the Health Pack. Just watch out for the enemies that can shoot you through the windows on either side.
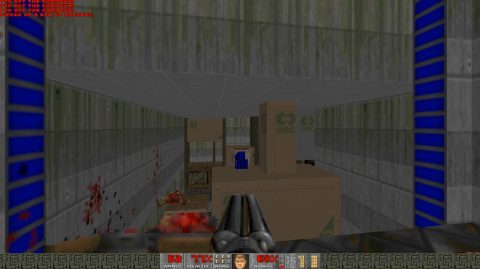
When you’re done take the lift back up and head back down the corridor to the room with the boxes. Lower down the corner lift in the center of the room and ride it up so you can flip a Switch. This lifts up steps to the top of some boxes and a crate.
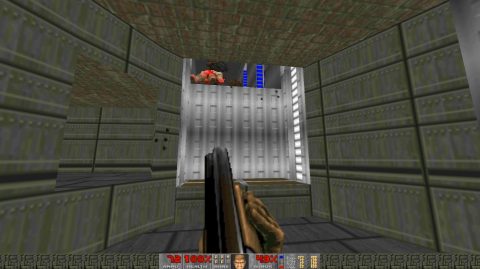
Head up the steps and then dash across to the ledge with the Red Key.

Lower the small wall to the right for Secret 2. Press the Switch to the left and then head down the steps to a narrow corridor with enemies guarding an Invisibility sphere.
Take the door to the north back to the room with the Switch. Go through the door to the north and up the stairs to the left. Inside the room up the top is a small alcove with a Red Switch. Hitting the Switch will open up the Bars on the other side of the corridor.
Head back down the steps and along the corridor. The other set of Bars can be opened manually. Take out the Gunners on the other side and clear out this room and the next square room to the south.
The central structure in both square rooms has a Switch that can be opened. Continue to the box room to the south and clear out the enemies. If you need health climb up the boxes and drop down the other side for a Berserk pack.

Take the exit to the south and go through the white door. Continue through a series of white doors and clear out the enemies as you go. At the other end you’ll find a Backpack and a set of stairs with more enemies.
When you reach the stairs alcoves will open behind you releasing more Chaingunners. Take them out and then open the central alcove to the south with the triangle on the wall. Inside you’ll find Rockets and Shotgun Shells. Open the next wall with the triangle. Take the lift up and follow the corridor around for a Computer Area Map and Berserk pack. Take the lift down at the end to trigger Secret 4.
Head up the stairs. From here you should be able to dash across to the Blue Key.
Go back to the square rooms with the central smaller room. Hit the Switch to open the small structure in the northern square room and hit the Skull Button. This opens the rectangular room to the north.
Take out the enemies and head up the steps to the left for a Box of Rockets. Now open the door on the other side to a room with a slime pool. Once again take out the enemies and head to the eastern side of the room behind the Switch.
Open the wall on the south east corner with the red light on it for Secret 5. Inside you’ll find Shotgun Shells.
Open the white door behind the Switch which is actually a lift. Take out the Imps and hit the Green Buttton. Lower the lift to the right and ride it up to another room. This is Secret 6.
Take out the enemies and touch the lowered floor around the central structure to trigger Secret 7.
Head into the teleporter on the right to be taken back to the ledge in the previous room where the Imps where standing. This is Secret 8 where you’ll find a Box of Rockets.
Go back through the teleporter on the left and you’ll be taken to Secret 9. This is a narrow walkway around the starting area.
Take out all the Zombiemen around the edges and hit the Switch to lower the lifts so you can get up on the other side.
Once the area is clear head back through the bars to the square rooms and take the Blue Door on the eastern side of the northern square room.
Head down the stairs and clear out the enemies. Grab all the loot you need from the tables and before heading up the stairs open the wall with the blue triangles at the base of the stairs for the final Secret for this level.
Inside you’ll find more enemies and a Stimpak. Come back to the stairs and head up to the Exit.
Back: Level 8: Metal Next: Level 10: Redemption